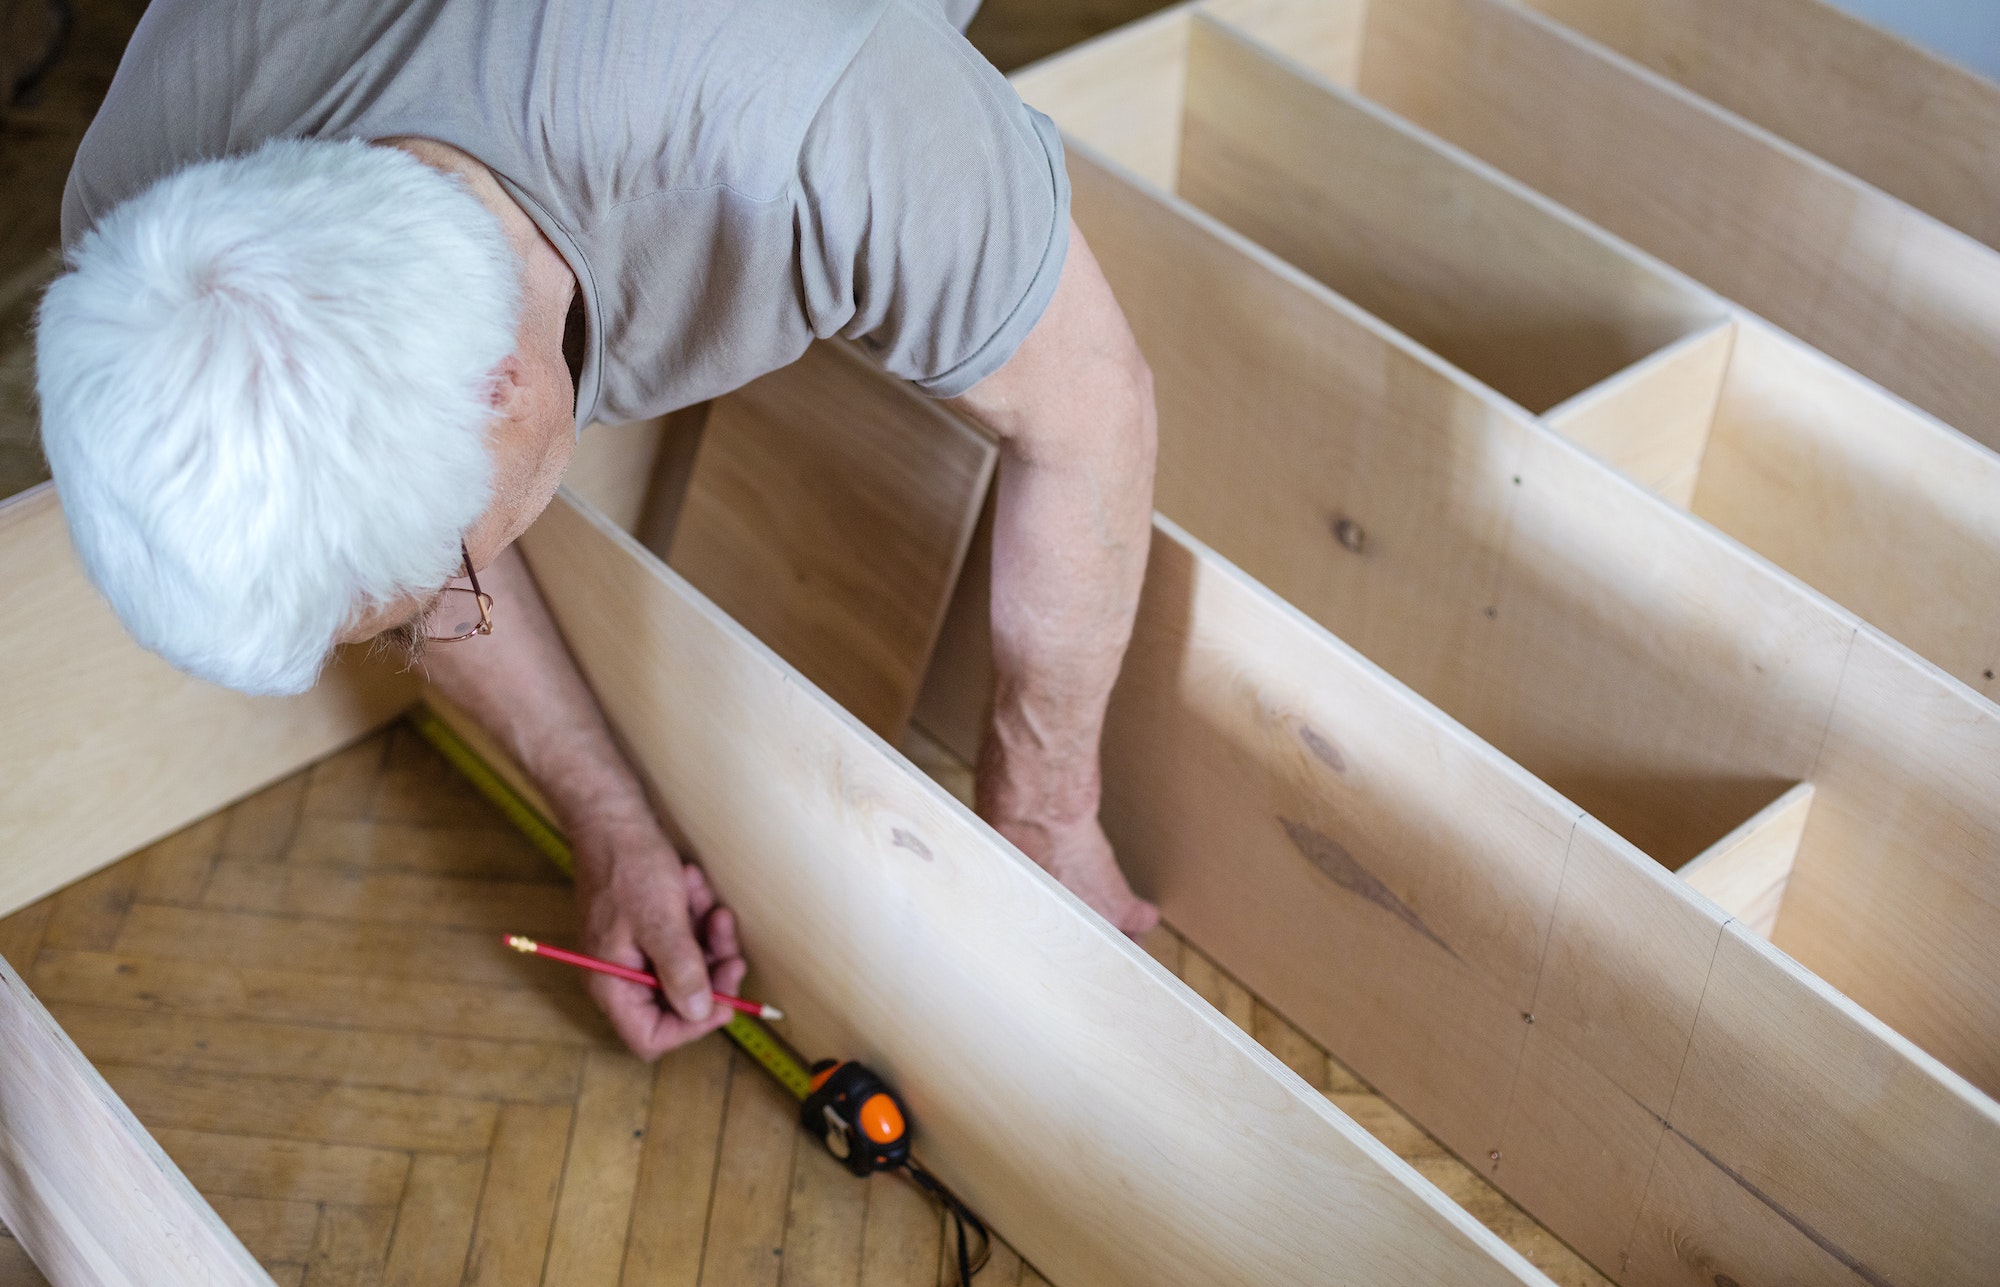
As the summer season comes to an end, it’s time to shift our focus to indoor projects that will help us stay productive and creative during the colder months. One such project that has been gaining popularity among DIY enthusiasts, environmentalists, and home improvement aficionados is creating a shelving unit made from recycled and reclaimed materials. The beauty of this project lies not just in its functionality, but in its contribution to sustainability and the unique character it brings to your living space.
In this detailed guide, we will walk you through the process of creating your own shelving unit using recycled and reclaimed materials, highlighting the importance of meticulous planning, proper grading, and the right assembly techniques.
Planning and Design
The first step in creating a shelving unit from recycled materials is planning the design and dimensions of the unit. It is important to measure your available space and consider your storage needs before jumping into the project. While you may have plenty of materials at hand, it’s crucial to ensure that the final product will fit into your desired space and serve its purpose effectively.
As you design your shelving unit, try to incorporate a mix of materials that are both sturdy and visually appealing. Pallets, old pieces of furniture, and wooden boards reclaimed from construction sites can all be great sources of material. The key here is to embrace the imperfections and unique characteristics of these materials, as they will add a touch of rustic charm to your finished product.
Grading and Preparing the Materials
Once you have settled on a design for your shelving unit, the next step is to gather, grade, and prepare the materials. Start by measuring and cutting the pieces according to your design plan. Be sure to double-check your measurements and cuts, as fixing errors later on can be both time-consuming and costly.
After cutting the materials to the desired size, it’s time to sand and clean each piece. This step is crucial in revealing the character of the wood and ensuring a smooth, polished finish. Don’t be afraid to put in some elbow grease here – the more time and effort you invest in sanding, the more rewarding the final result will be.
Assembly and Installation
With your materials prepared, it’s time to assemble the shelving unit. One approach to assembly is to create a “flat-pack” style design, which allows you to build the unit in sections that can be easily transported and assembled in the final location. This can be especially helpful if you’re working with larger units that may not fit through doorways or up staircases.
For a seamless and sturdy assembly, be sure to use proper joinery techniques, such as half-lap joints, and countersink any screws to create a flush finish. This will not only ensure a strong and stable shelving unit but also maintain the aesthetics of your design.
Once the shelving unit is assembled, find the perfect spot in your home for it and start organizing your belongings. Be sure to secure the unit to the wall, if necessary, to prevent any accidents or damage.
The Benefits of Reclaimed Materials
By utilizing recycled and reclaimed materials in your shelving unit project, you are actively contributing to the sustainability movement and reducing your carbon footprint. Moreover, the unique characteristics of reclaimed materials will add an unparalleled charm to your living space that simply cannot be replicated with store-bought furniture.
Reclaimed wood, in particular, has a rich history and often boasts unique textures, colors, and patterns that can bring a sense of warmth and character to your home. Additionally, by repurposing materials that would otherwise end up in landfills or be discarded, you are helping to decrease deforestation and support environmental conservation efforts.
Final Thoughts
Creating a shelving unit from recycled and reclaimed materials is an excellent project for those looking to hone their woodworking skills, contribute to sustainability, and add a touch of rustic charm to their living space. With proper planning, preparation, and assembly techniques, you can create a functional and visually appealing piece of furniture that will stand the test of time.
Remember to measure twice, cut once to avoid any costly errors, and don’t be afraid to embrace the imperfections and unique characteristics of your chosen materials. With a little elbow grease, creativity, and determination, you can transform discarded materials into a one-of-a-kind shelving unit that will be the envy of your friends and family.
As you embark on your shelving unit project, consider sharing your progress and finished product with others to inspire more environmentally-conscious DIY projects. The world needs more creative and sustainable solutions like these to combat the challenges we face in preserving our planet for future generations.


