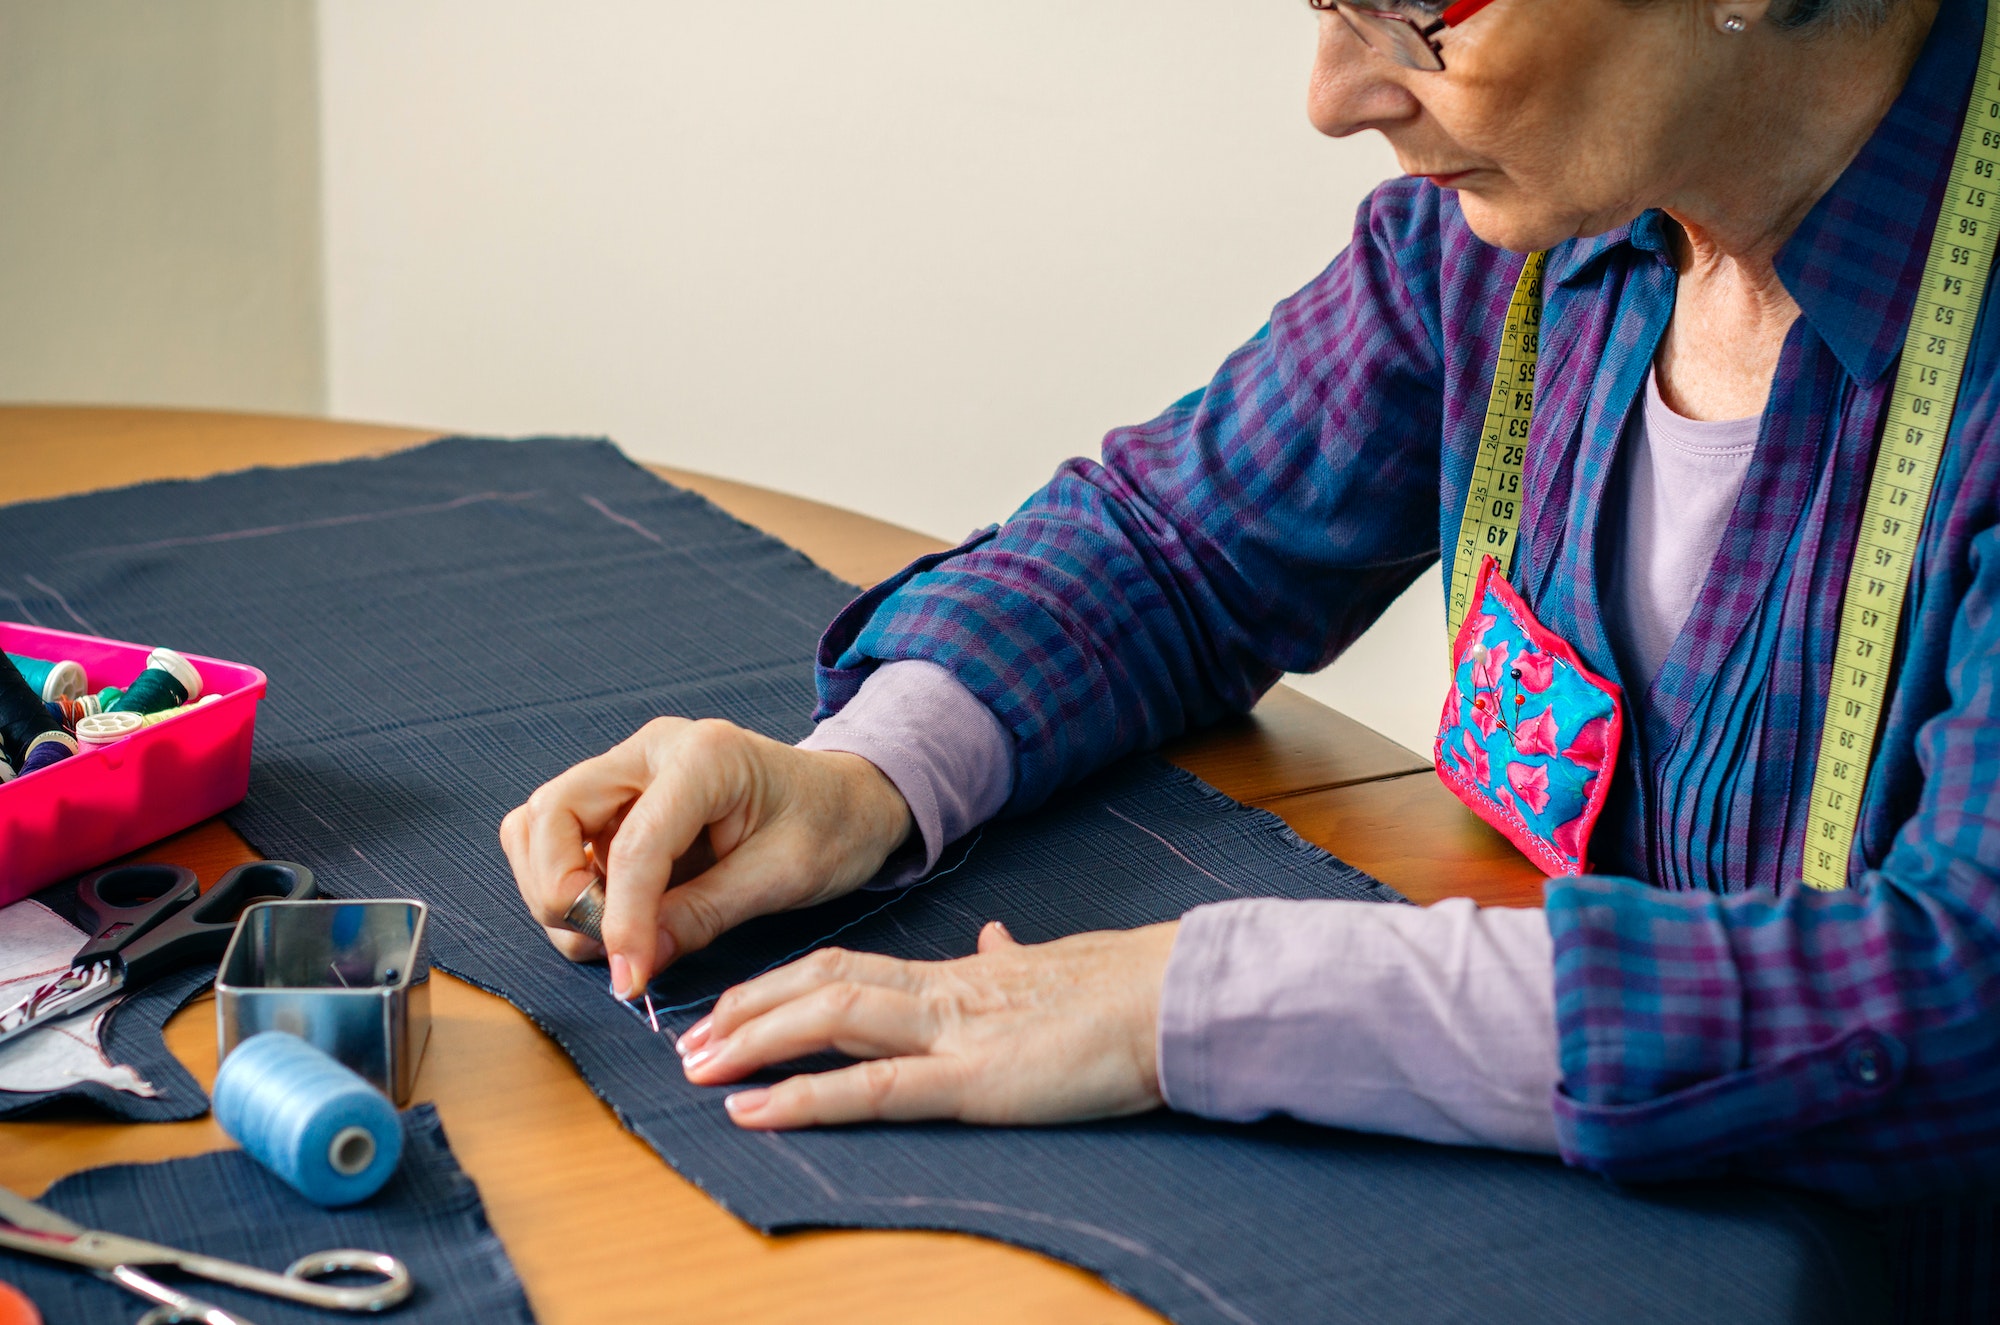
Cushions are an essential element in every home, adding comfort and style to any room. Whether you want to revamp old pillows or create a new, personalized touch, sewing a cushion cover is an easy and affordable solution. In this comprehensive guide, we will walk you through the process of creating your very own cushion cover, from choosing the right fabric to adding the final touches. By following these simple steps, you will be able to create stunning cushion covers that match your style and enhance your living space.
Selecting the Right Fabric and Preparing the Materials
Before you start sewing your cushion cover, the first step is to choose the right fabric. The type of fabric you select will determine the appearance, durability, and functionality of your cushion cover. When selecting a fabric, consider factors such as color, pattern, texture, and the intended use of the cushion.
Choosing the Fabric
When selecting a fabric, opt for one that is durable and easy to clean. Popular choices include cotton, linen, and polyester blends. Additionally, pay attention to the fabric’s weight, as heavier fabrics are better suited for upholstery and outdoor use, while lighter fabrics are ideal for decorative purposes.
Preparing the Materials
Once you have chosen the fabric, gather the necessary materials:
- Cushion pad: Ensure that the cushion pad is the desired size and shape for your cover.
- Sewing machine: A sewing machine is essential for creating a professional and sturdy cushion cover.
- Zipper: A zipper allows for easy removal and cleaning of the cushion cover. Choose a zipper that matches the fabric’s color and measures 2 inches shorter than the cushion.
- Thread: Select a thread that matches the color of your fabric.
- Pins and needles: Pins will help hold the fabric pieces together while sewing, and needles will be used for hand-stitching if necessary.
- Measuring tape, ruler, and scissors: These tools will help you measure, cut, and shape the fabric pieces accurately.
Cutting and Pinning the Fabric
After preparing the materials, it’s time to cut and pin the fabric pieces. Accurate measurements and cutting will ensure your cushion cover fits the cushion pad perfectly.
Measuring and Cutting the Fabric
- Begin by measuring the dimensions of your cushion pad, including the height, width, and depth (if applicable).
- Add a 1/2-inch seam allowance to each side of the measurements. This additional fabric will be used to create the seams joining the fabric pieces.
- Using the adjusted measurements, cut two pieces of fabric for the front and back of the cushion cover. For a box cushion, cut additional side pieces according to the depth of the cushion.
- Cut one additional piece of fabric for the zipper seam.
Pinning the Fabric
Once you have cut the fabric pieces, it’s time to pin them together. This will help keep the pieces aligned and prevent shifting during sewing.
- Place the front and back pieces of fabric on a flat surface with their right sides facing each other.
- Align the edges and corners of the fabric pieces, making sure they match up perfectly.
- Pin the fabric pieces together along the edges, leaving a space for the zipper seam.
- For a box cushion, pin the side pieces to the top and bottom pieces, then join the side pieces together with pins.
Sewing the Cushion Cover
Now that your fabric pieces are cut and pinned, you can begin sewing the cushion cover. Follow these steps for a professional finish:
Sewing the Seams
- Set up your sewing machine with the appropriate thread color and stitch length.
- Starting at one corner of the fabric, sew along the pinned edges, removing the pins as you go.
- Remember to leave the space for the zipper seam open. Do not sew over this area.
- For a box cushion, sew the side pieces to the top and bottom pieces first, then join the side pieces together by sewing the corners.
Attaching the Zipper
- Fold the zipper seam fabric piece in half, with the right sides facing each other, and sew along the edge opposite the fold.
- Unfold the fabric and press the seam flat.
- Position the zipper along the center of the seam, with the zipper pull facing down.
- Attach the zipper foot to your sewing machine and sew the zipper in place along the edge of the fabric, being careful not to catch the zipper’s teeth.
- Once the zipper is securely attached, carefully remove any visible basting stitches.
Finishing Touches and Turning the Cover Right Side Out
After sewing the cushion cover, all that’s left to do is turn it right side out and insert the cushion pad.
- Carefully trim any excess fabric and thread from the seams, ensuring you do not cut too close to the stitching.
- Turn the cushion cover right side out, using a pointed object (such as a chopstick) to push out the corners and smooth the edges.
- Insert the cushion pad through the zipper opening, making sure it fits snugly within the cover.
- Close the zipper, and your cushion cover is complete!
In conclusion, sewing a cushion cover is a simple, cost-effective way to refresh and personalize your home decor. By selecting the right fabric, accurately measuring and cutting the pieces, and carefully sewing the seams and zipper, you can create a professional-looking cushion cover that complements your style and enhances your living space. So, why not give it a try and add a touch of personal flair to your home?


